Create Slack App
The first thing to do is to create a Slack application for your bot.
Visit your Slack Apps Dashboard and click on "Create New App". Pick the "from scratch" option. Enter a name for the app, pick the workspace you want to build in, and finally click on "Create App".
Configure
Your Slack bot needs a few configuration bits to be in place. Let's set them up now.
1. App Home
Under "Features → App Home", select the "Home Tab" toggle so that the app can present a home screen to the user when they try to view the bot's profile in Slack. We'll later use the home screen to allow end users to manage their subscription.
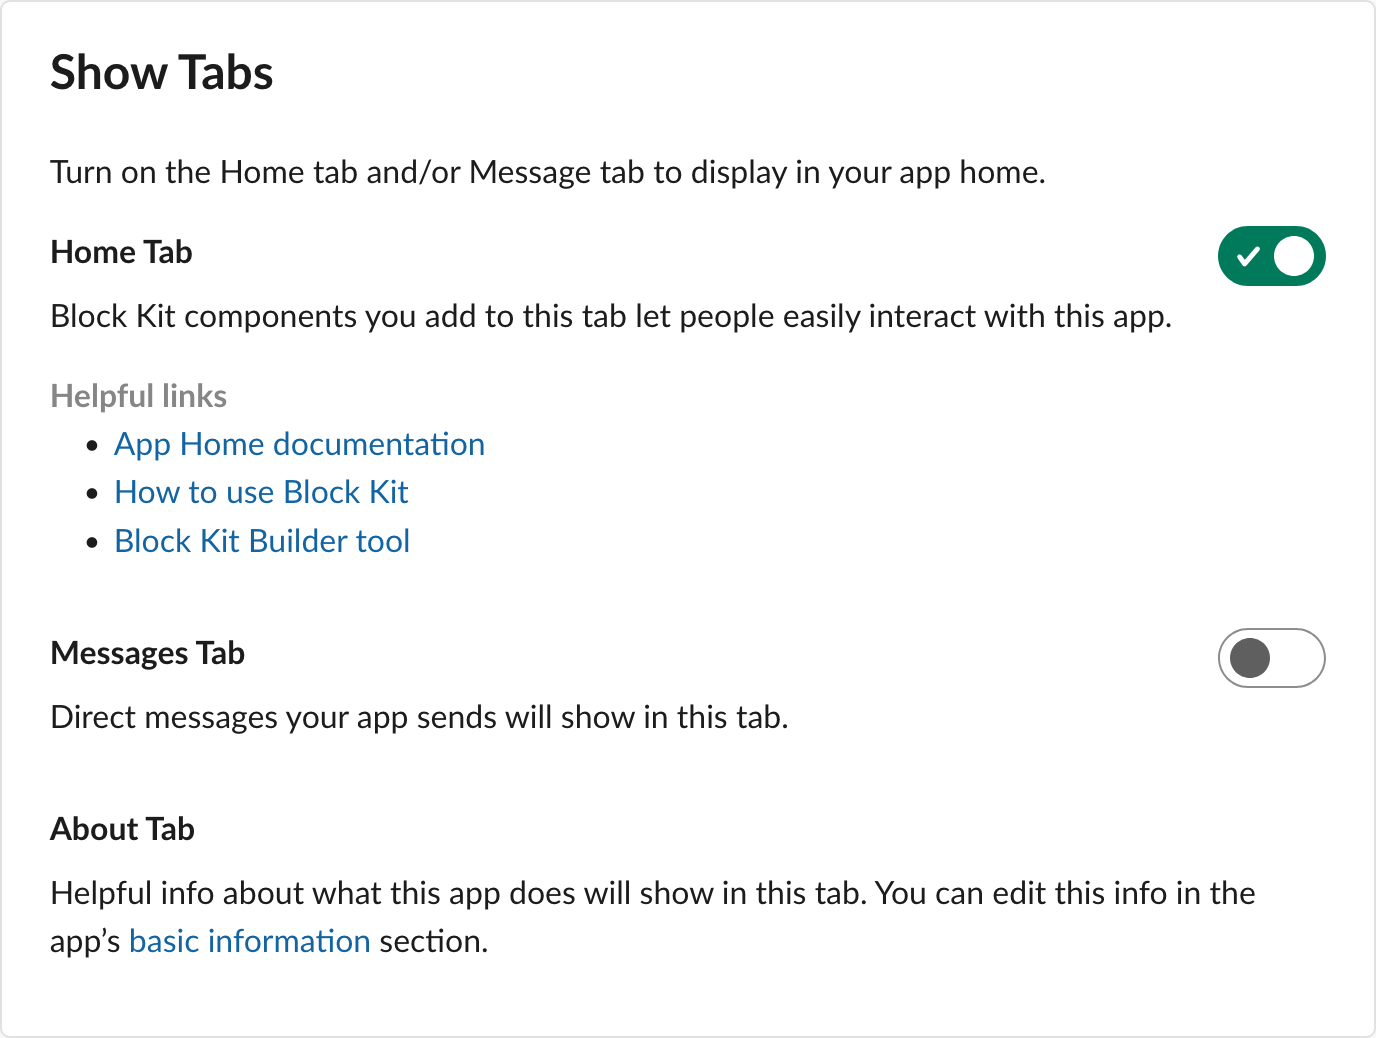
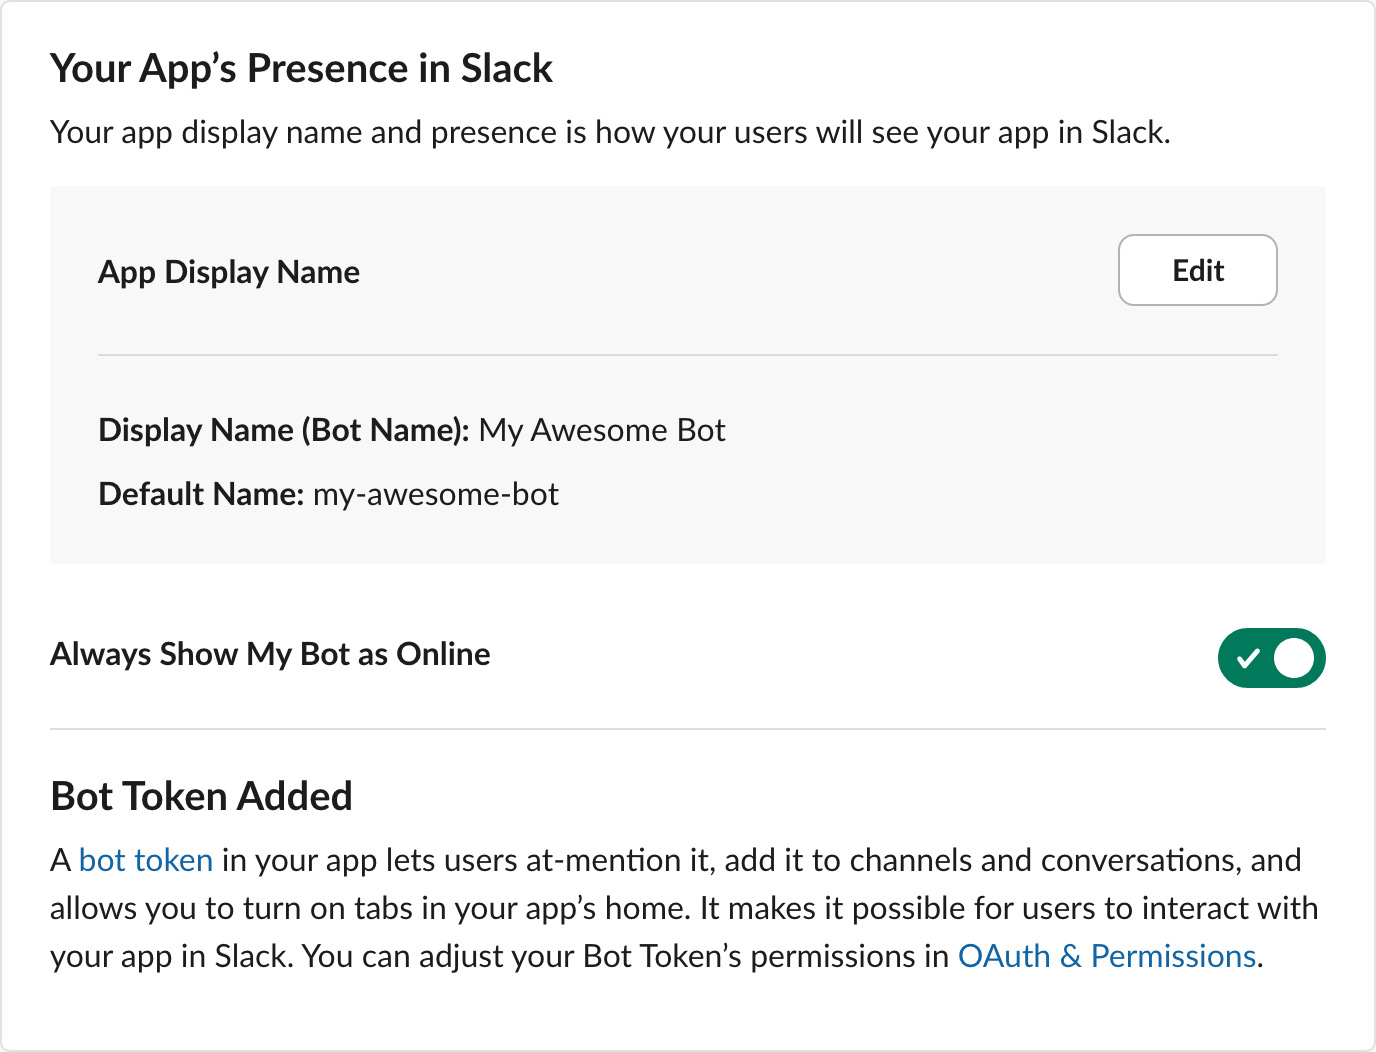
Also feel free to enable the "Always Show My Bot as Online" toggle so the bot does not show as offline when your users are interacting with it. 🙃
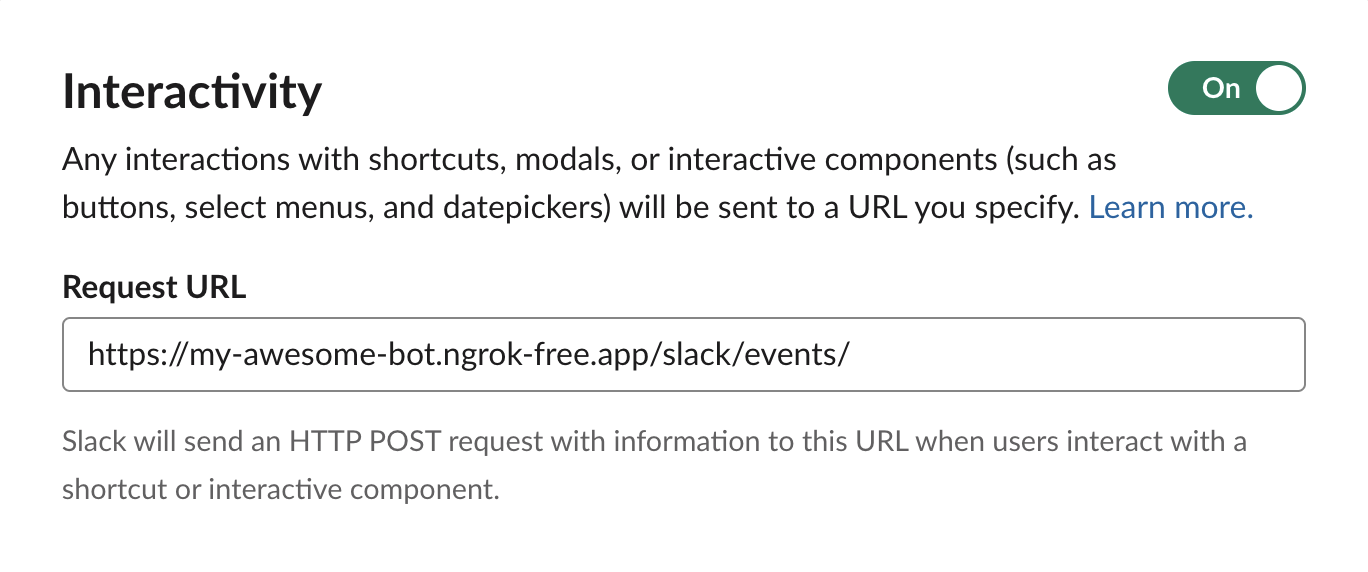
2. Interactivity & Shortcuts
Under "Features → Interactivity & Shortcuts", enable the "Interactivity" toggle. In the
"Request URL" text input, paste the ngrok link you set up in the previous step and
append /slack/events/ to it.
The final configuration should look something like this.
3. OAuth & Permissions
In this section we need to set up two configuration bits.
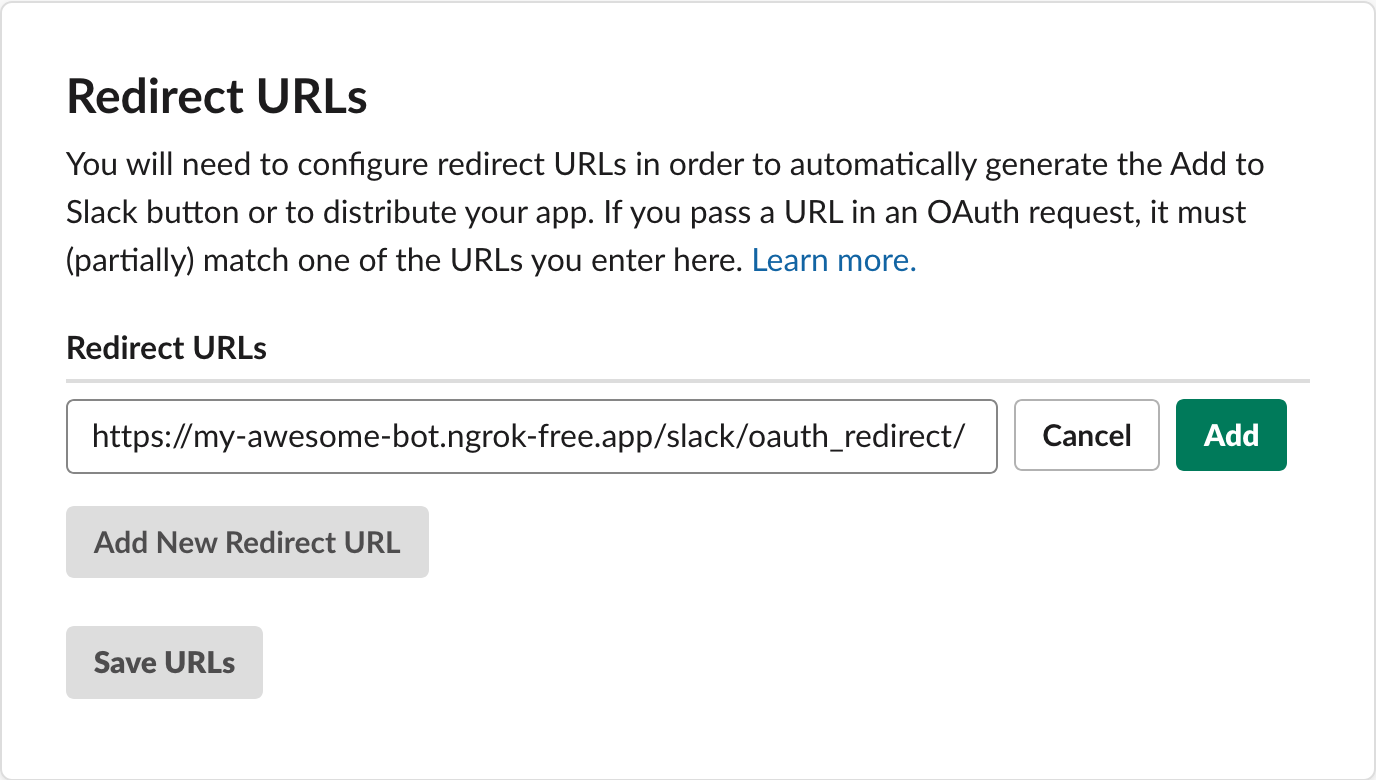
3.1 Redirect URLs
In the "Features → Redirect URLs", add the ngrok link you set up in the previous step
and append /slack/oauth_redirect/ to it. The final result should look like this:
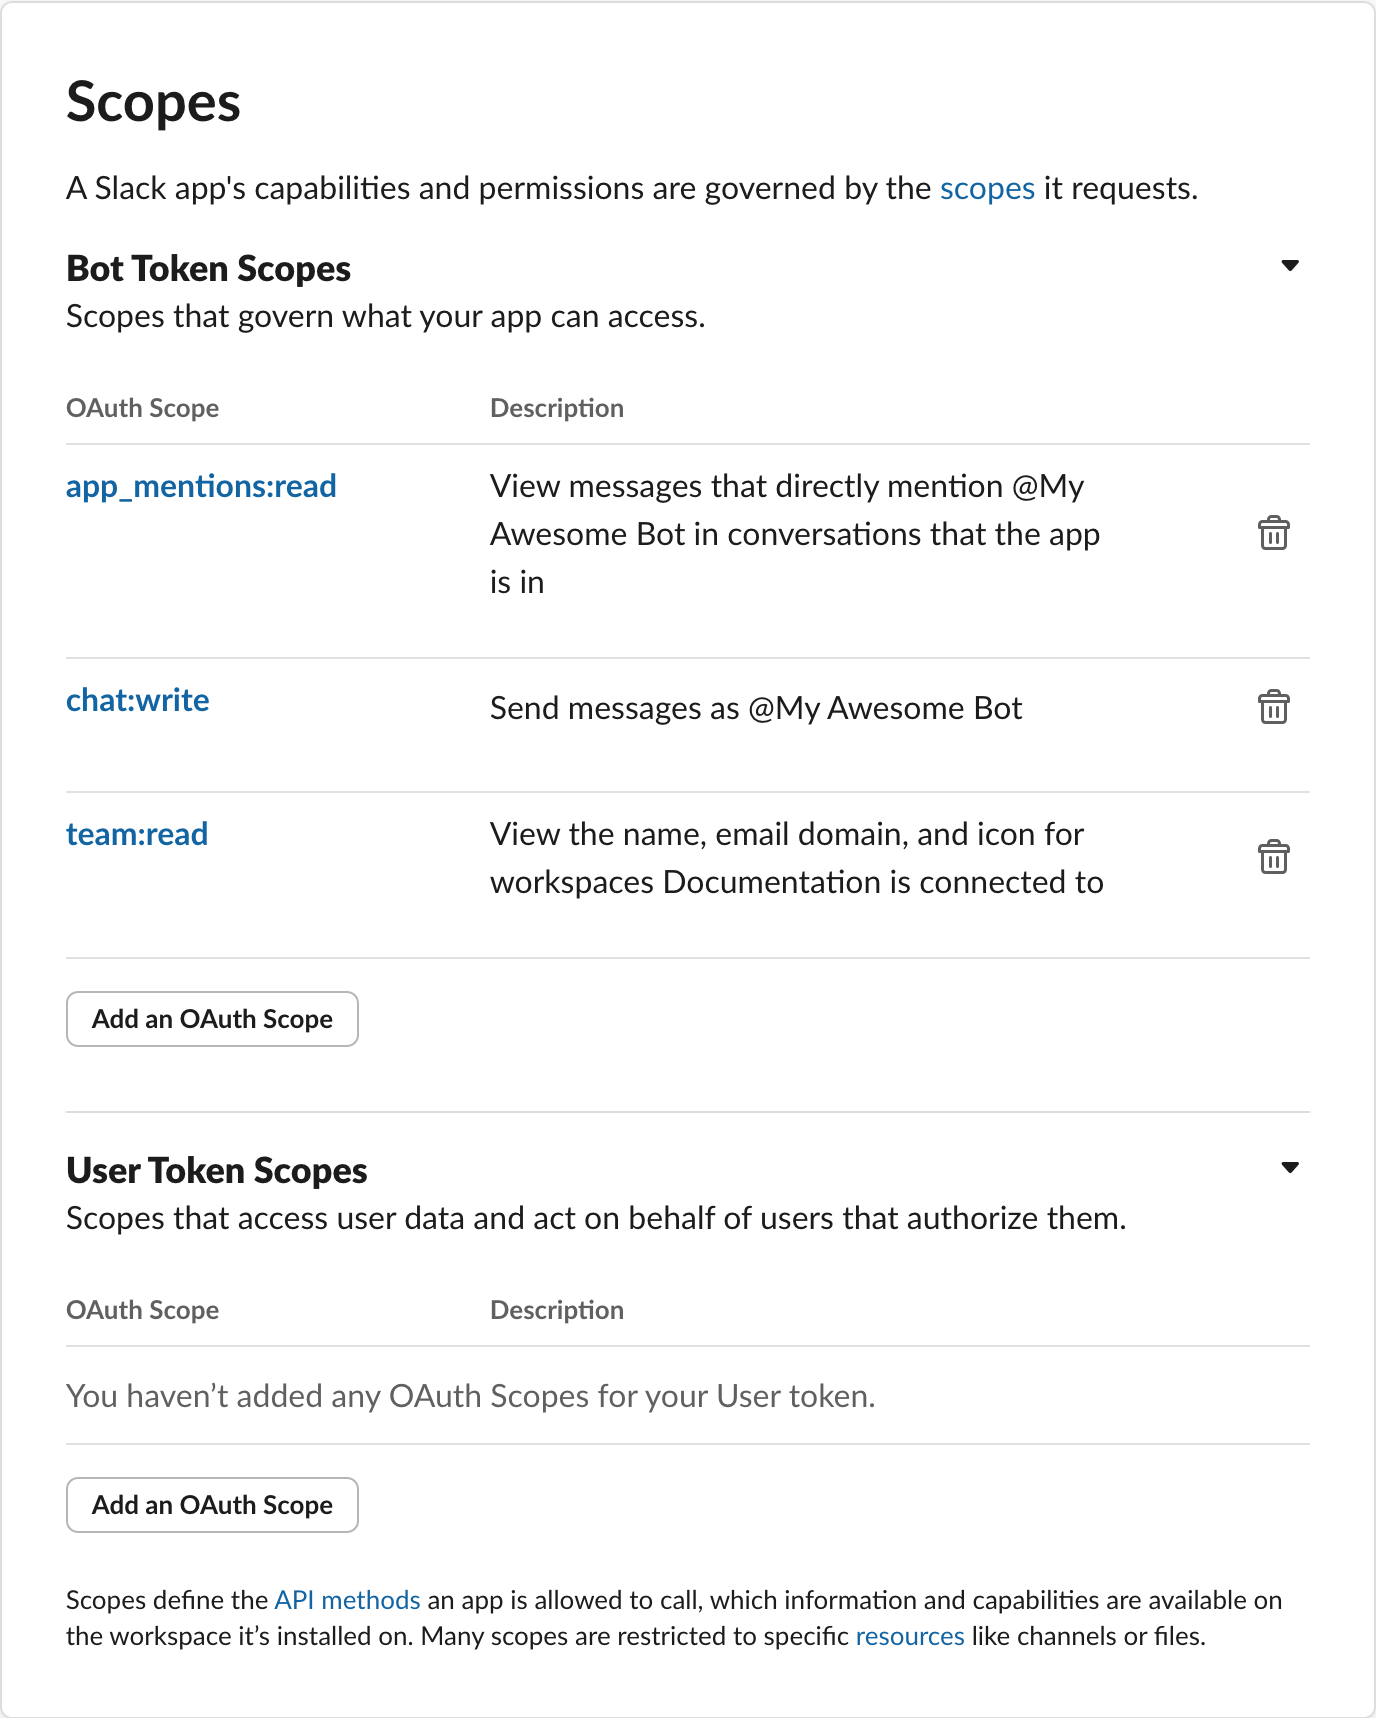
3.2 App Scopes
Next, in the "Features → OAuth & Permissions → Scopes" section, use the "Add an OAuth
scope" button to add the following scopes: app_mentions:read, chat:write, and
team:read.
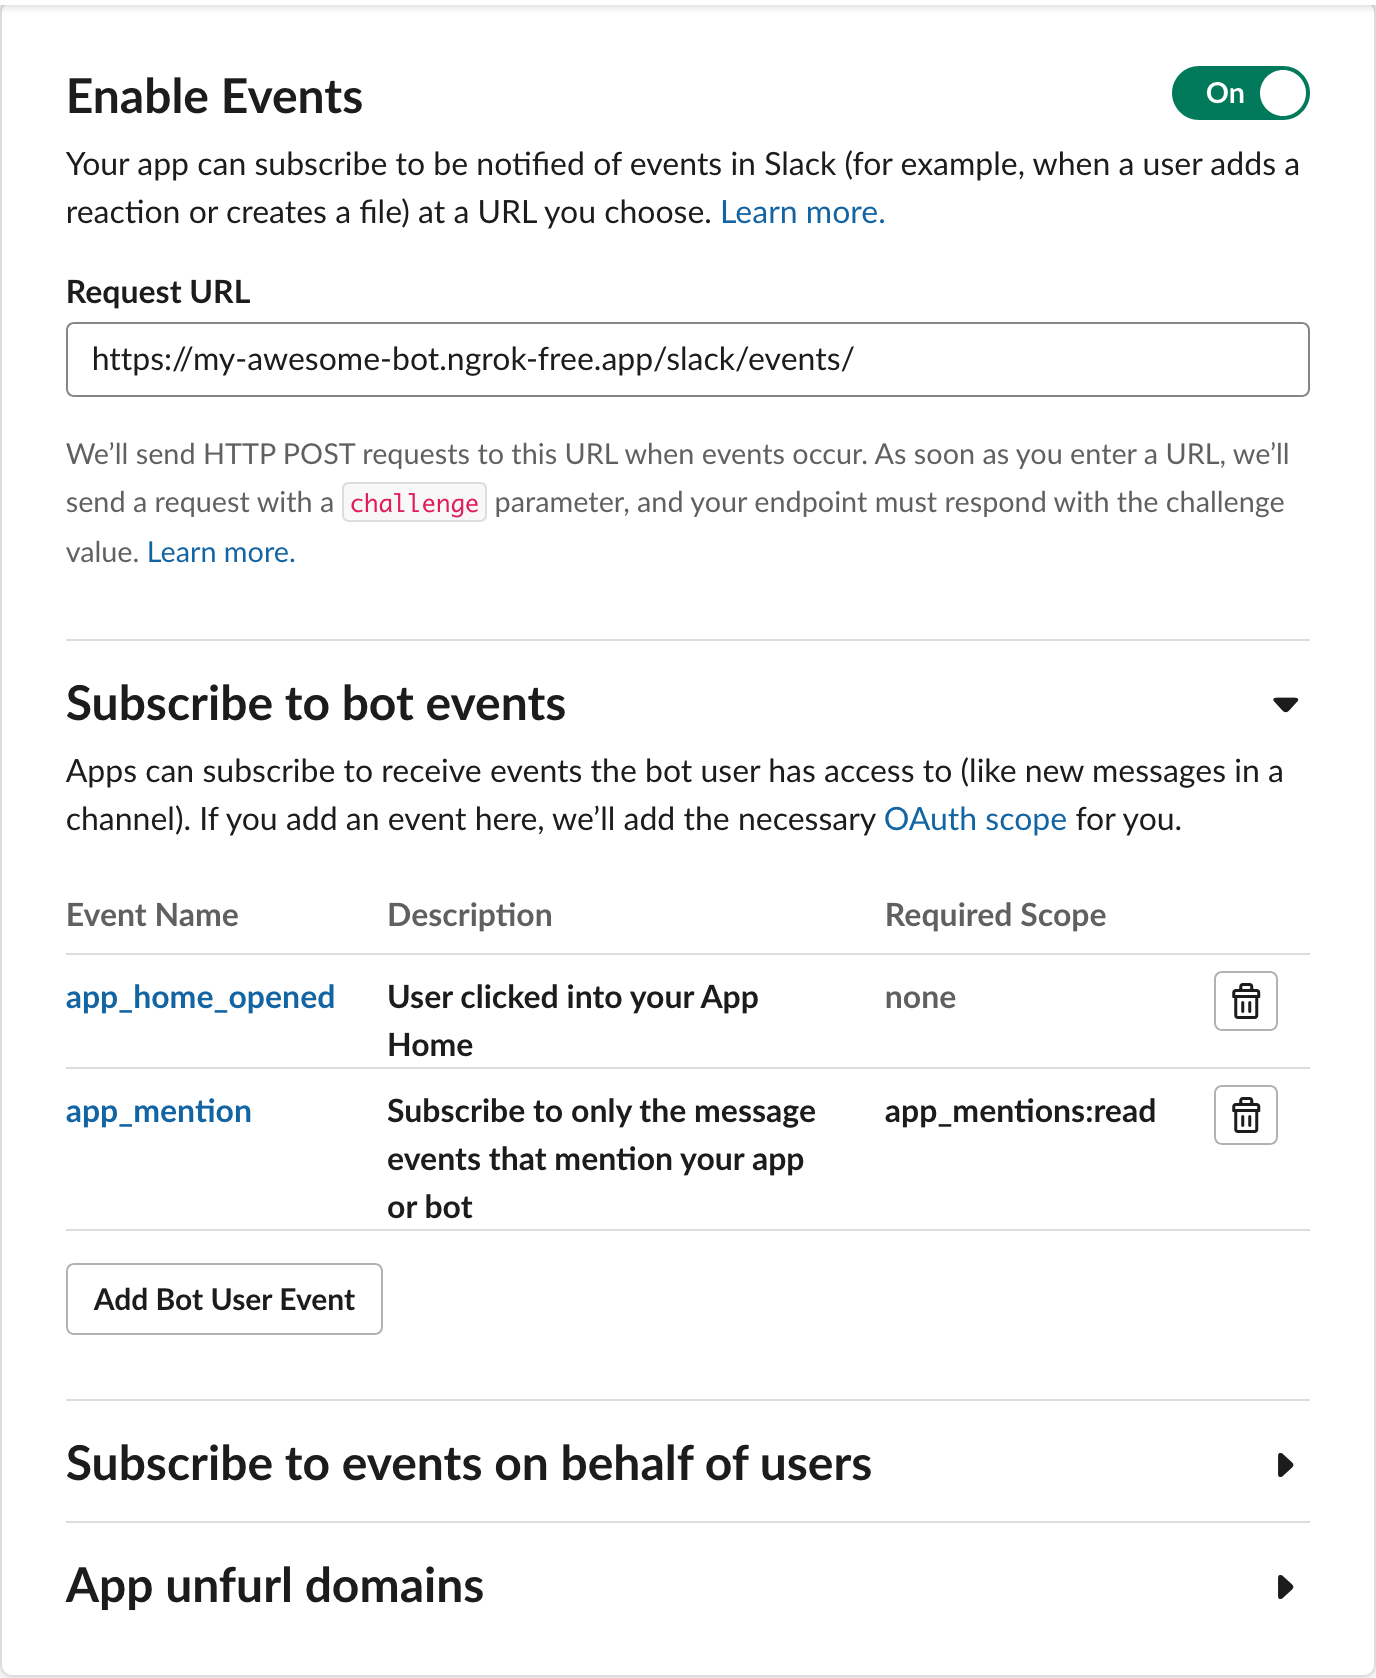
4. Event Subscriptions
Finally, in the "Features → Event Subscriptions" section, add the ngrok link you set
up in the previous step and append /slack/events/ to it. On the same page, use the
"Add Bot User Event" to subscribe the bot to the app_home_opened and app_mention
events.
The final result should look like this:
Amazing. Now that the Slack app has been set up, let's set up Polar for payments and we'll be up and running in no time!